Clip Studio Paint is a popular painting software program that many people love to use. It’s available for Windows and Mac computers, which means you can use it on any computer of your choosing! But what if you want to transfer Clip Studio Paint projects from one computer to another? Learn how in this article!
What is Clip Studio Paint?
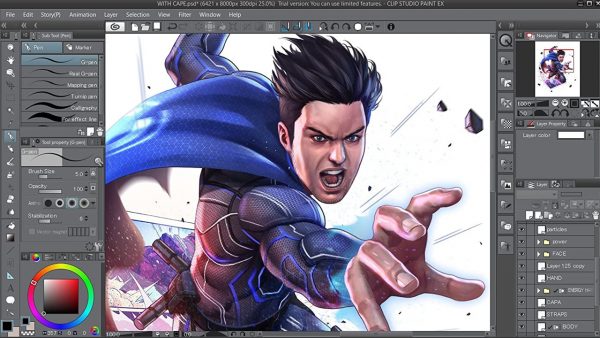
Clip Studio Paint is a powerful, easy-to-use painting program that enables artists to create professional-grade art on their computers. With Clip Studio Paint, you can paint or draw digitally with a wide variety of brushes and tools, or you can use the software to edit or enhance existing photos and illustrations.
Whether a beginner artist or a seasoned pro, Clip Studio Paint makes it easy to get started with digital painting and drawing. The software has everything you need to get started, including a library of pre-made brushes and tools, templates, tutorials, and more. Clip Studio Paint is compatible with a wide range of devices, so you can use it on your computer, tablet, or smartphone.
How to transfer clip studio paint to another computer
If you’re using Clip Studio Paint on more than one computer, you can transfer projects between them using a USB drive. Here’s how:
1. Connect a USB drive to the computer that has your Clip Studio Paint project.
2. Open the project in Clip Studio Paint and go to File > Export > Project Folder.
3. Select the USB drive as the destination for the export and click OK.
4. Eject the USB drive and connect it to the other computer.
5. Open Clip Studio Paint on the second computer and go to File > Import > Project Folder.
6. Select the USB drive as the source for the import and click OK.
How to install Clip Studio Paint on your new computer
Installation is a pretty straightforward process assuming you’ve already downloaded Clip Studio Paint to your new computer. Here are the steps:
1. Launch the installer by double-clicking on the downloaded file.
2. Click “Next” on the first screen of the installer.
3. Read and accept the terms of the license agreement, then click “Next.”
4. Choose where you want Clip Studio Paint to be installed, then click “Next.”
5. Choose whether or not you want shortcuts created for Clip Studio Paint on your desktop and in your Start menu, then click “Next.”
6. The installer will now install Clip Studio Paint to your chosen location. Once it’s finished, click “Finish.”
And that’s it! You should now be able to launch Clip Studio Paint from your Start menu or desktop shortcut and start working on your projects.
How to transfer clip studio paint projects from one computer to the other
When you’re working on a project in Clip Studio Paint, you may find yourself needing to transfer the project from one computer to another. Thankfully, transferring Clip Studio Paint projects is relatively simple and only takes a few steps.
In order to transfer a Clip Studio Paint project from one computer to another, you’ll need to first export the project as a .clip file. Go to File > Export > Export Project As (.clip) to do this. Once the .clip file has been exported, you can then transfer it to the other computer.
Once the .clip file has been transferred to the other computer, you can then open it in Clip Studio Paint. To do this, simply go to File > Open and select the .clip file. The project will then be opened in Clip Studio Paint and you can continue working on it from there!
With that being said, Clip Studio Paint is still a great program. It is up to the user to take care of their data to ensure it is preserved and backed up. Whether using a new computer or the same one, the steps to back up your Clip Studio Paint files are fairly simple and effective.