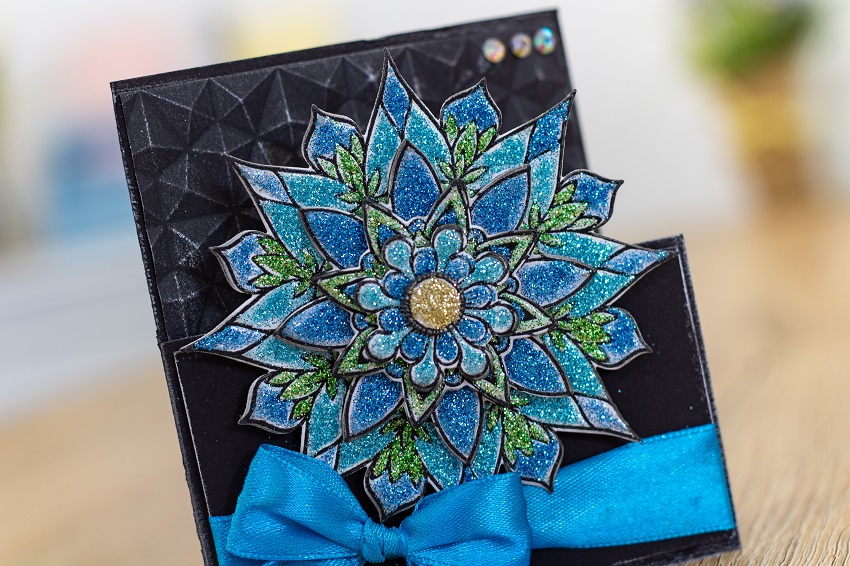
Have you ever looked at a plain cardboard box and thought, “I wish I could make this look more appealing”? If so, you’re not alone! Decorating a box with paper is a simple and enjoyable craft that allows you to unleash your creativity and transform ordinary containers into beautiful and personalized keepsakes. In this article, we will guide you through the process of decorating a box with paper, step by step. So, let’s dive in and embark on this creative journey together! The article is contributed by https://rusticdecorliving.com/
Gather Your Materials
The first step in decorating a box with paper is to gather all the necessary materials. You will need:
- A plain cardboard box in your desired size
- Decorative paper of your choice (wrapping paper, scrapbooking paper, or handmade paper)
- Scissors
- Craft glue or double-sided tape
- A pencil
- Ribbons, stickers, or other embellishments (optional)
Measure and Cut the Paper
To create the perfect fit, take the lid of the decorative wooden boxes and place it on the backside of the decorative paper. Trace around the lid with a pencil to create an outline. Carefully use the scissors to cut along the traced lines. Repeat this process with the base of the box, ensuring that the decorative paper matches the shape of the box precisely.
Apply Glue or Tape
Now that you have the paper cut to the right size, it’s time to attach it to the box. Apply craft glue or double-sided tape to the backside of the paper, ensuring an even distribution. Carefully place the paper onto the lid and press it firmly to ensure a smooth adhesion. Repeat the process with the base of the box.
Cover the Sides
To cover the sides of the box, measure the height and length of each side and cut strips of decorative paper accordingly. Apply glue or tape to the backside of each strip and carefully place it onto the corresponding side of the box. Ensure that the edges align neatly.
Add Embellishments
To add a touch of elegance and personality to your decorated box, consider using ribbons, stickers, or other embellishments. You can place a ribbon around the box and tie a bow for a delightful finishing touch. Stickers and other decorative elements can be strategically placed to enhance the overall appearance.
Create Complementary Themes
If you are giving the decorated box as a gift, consider the theme of the occasion or the recipient’s interests. Create complementary themes using different colors, patterns, and decorative elements to make the box truly special and meaningful.
Personalize with Calligraphy
If you have excellent calligraphy skills, why not add a personal touch by writing the recipient’s name or a heartfelt message on the box? This thoughtful gesture will show that you put effort and care into the gift.
Use Decoupage Technique
Decoupage is an excellent technique to add unique images and designs to your box. Cut out images or patterns from magazines, printed paper, or tissue paper. Apply a layer of decoupage glue to the back of the cutouts and stick them onto the box. Once dry, apply a layer of decoupage glue over the entire surface for a seamless look.
Experiment with Stencils
Stencils are a fantastic tool to create intricate designs on your box. Choose a stencil pattern that complements the theme of your box and use a sponge or brush to dab acrylic paint over the stencil. Once the paint is dry, remove the stencil to reveal a stunning design.
Seal and Protect
After you’ve decorated the box to your satisfaction, it’s essential to seal and protect the paper. Apply a thin, even layer of clear varnish or decoupage glue over the entire surface to safeguard the paper from wear and tear.
Conclusion
Decorating a box with paper is a delightful and rewarding creative project that allows you to express your artistic side. Whether you’re crafting a gift box for a loved one or creating a storage container for yourself, the possibilities are endless. By following the steps outlined in this article, you can easily transform an ordinary box into a beautiful work of art.
FAQs
- Can I use any type of paper for this craft?
Yes, you can use various types of decorative paper, such as wrapping paper, scrapbooking paper, or handmade paper, to suit your preferences.
- How can I remove air bubbles while attaching the paper to the box?
To remove air bubbles, gently smooth out the paper from the center outward with your hand or a soft cloth during the gluing process.
- Can I decorate a box with other materials besides paper?
Absolutely! While this article focuses on paper decorations, you can get creative and use various materials like fabric, ribbons, or even natural elements like pressed flowers.
- Is this craft suitable for beginners?
Yes, decorating a box with paper is a beginner-friendly craft. It’s an excellent way to start exploring your creativity.
- Can I reuse old boxes for this project?
Certainly! Upcycling old boxes is an eco-friendly and budget-friendly way to embark on this craft. Just make sure to remove any labels or markings before decorating.


